
Like my previous carving project, this one was meant as a present for a friend. I knew I wanted to try to make something new but I only had a limited amount of time to finish it. Luckily I had ordered some practice blocks cut from a variety of species from English Woods and in the lot was a nice cut of tulip wood, a species I wasn’t familiar with but it had the right thickness and was light enough in colour that it could take a stain quite happily. Unfortunately I had assumed that tulip wood was a soft wood, it most definitely is not.
As I wanted to carve a three dimensional object, as opposed to doing relief carving, I thought some sort of bowl would be simple enough. And as the idea started germinating it occurred to me that a small lotus shaped into some usable bowl would work quite nicely and should be an adequate present for the intended recipient. I could carve the suggestion of the internal filaments to retain a somewhat flat bottom and keep the number of petals manageable without compromising the overall look of the flower. It would likely end up a little shallower than a normal lotus would but not terribly so.
The first step was to visualise what the flower looked like inside the block of wood, and trace its outline on the outside. This required some level of imagination, I must say I didn’t know I was capable of, given the end result. The easy way to start was to delineate the shape of the bowl section and leave enough room around for the petals while maximising the use of the wood and keep the whole carving reasonably round in its overall shape. Gouging out the bowl section is an exercise in trial and error and constantly testing how much thickness is left at the bottom. I know I would need to at least leave room to carve my logo at the bottom but also to have a solid base for it to sit on. At this stage I hadn’t considered giving it a base leaf which water lilies sit on but upon studying my source material (including several of my own pictures) it occurred to me that this would make the whole structure sit far more steadily than the narrow base of a bowl I originally meant to give it.
I wasn’t overly concerned about giving the inside of the bowl a smooth finish with the gouges at this point as I knew the leaves would need to be shaped inside anyway to give it a more natural look. Eventually I arrived at a depth and diameter I was satisfied with.
My first attempt at drawling the petals prior to carving didn’t make sense. I was giving them too wide a spread and made them far too spiky. Again pictures of water lilies suggested more rounded and thicker petals would work better and while they can naturally bend outwards, I decided to keep them all with a convex shape so as to make it easier to carve and more harmonious overall. So I drew three layers of six offset sets of petals. The number itself isn’t significant, it just meant the petals ended up with the sort of shape I wanted, not too big and not too thin.
So I started to hollow out the outside of the bowl, I found myself fascinated by how you could see it emerge from the wood as shown below:
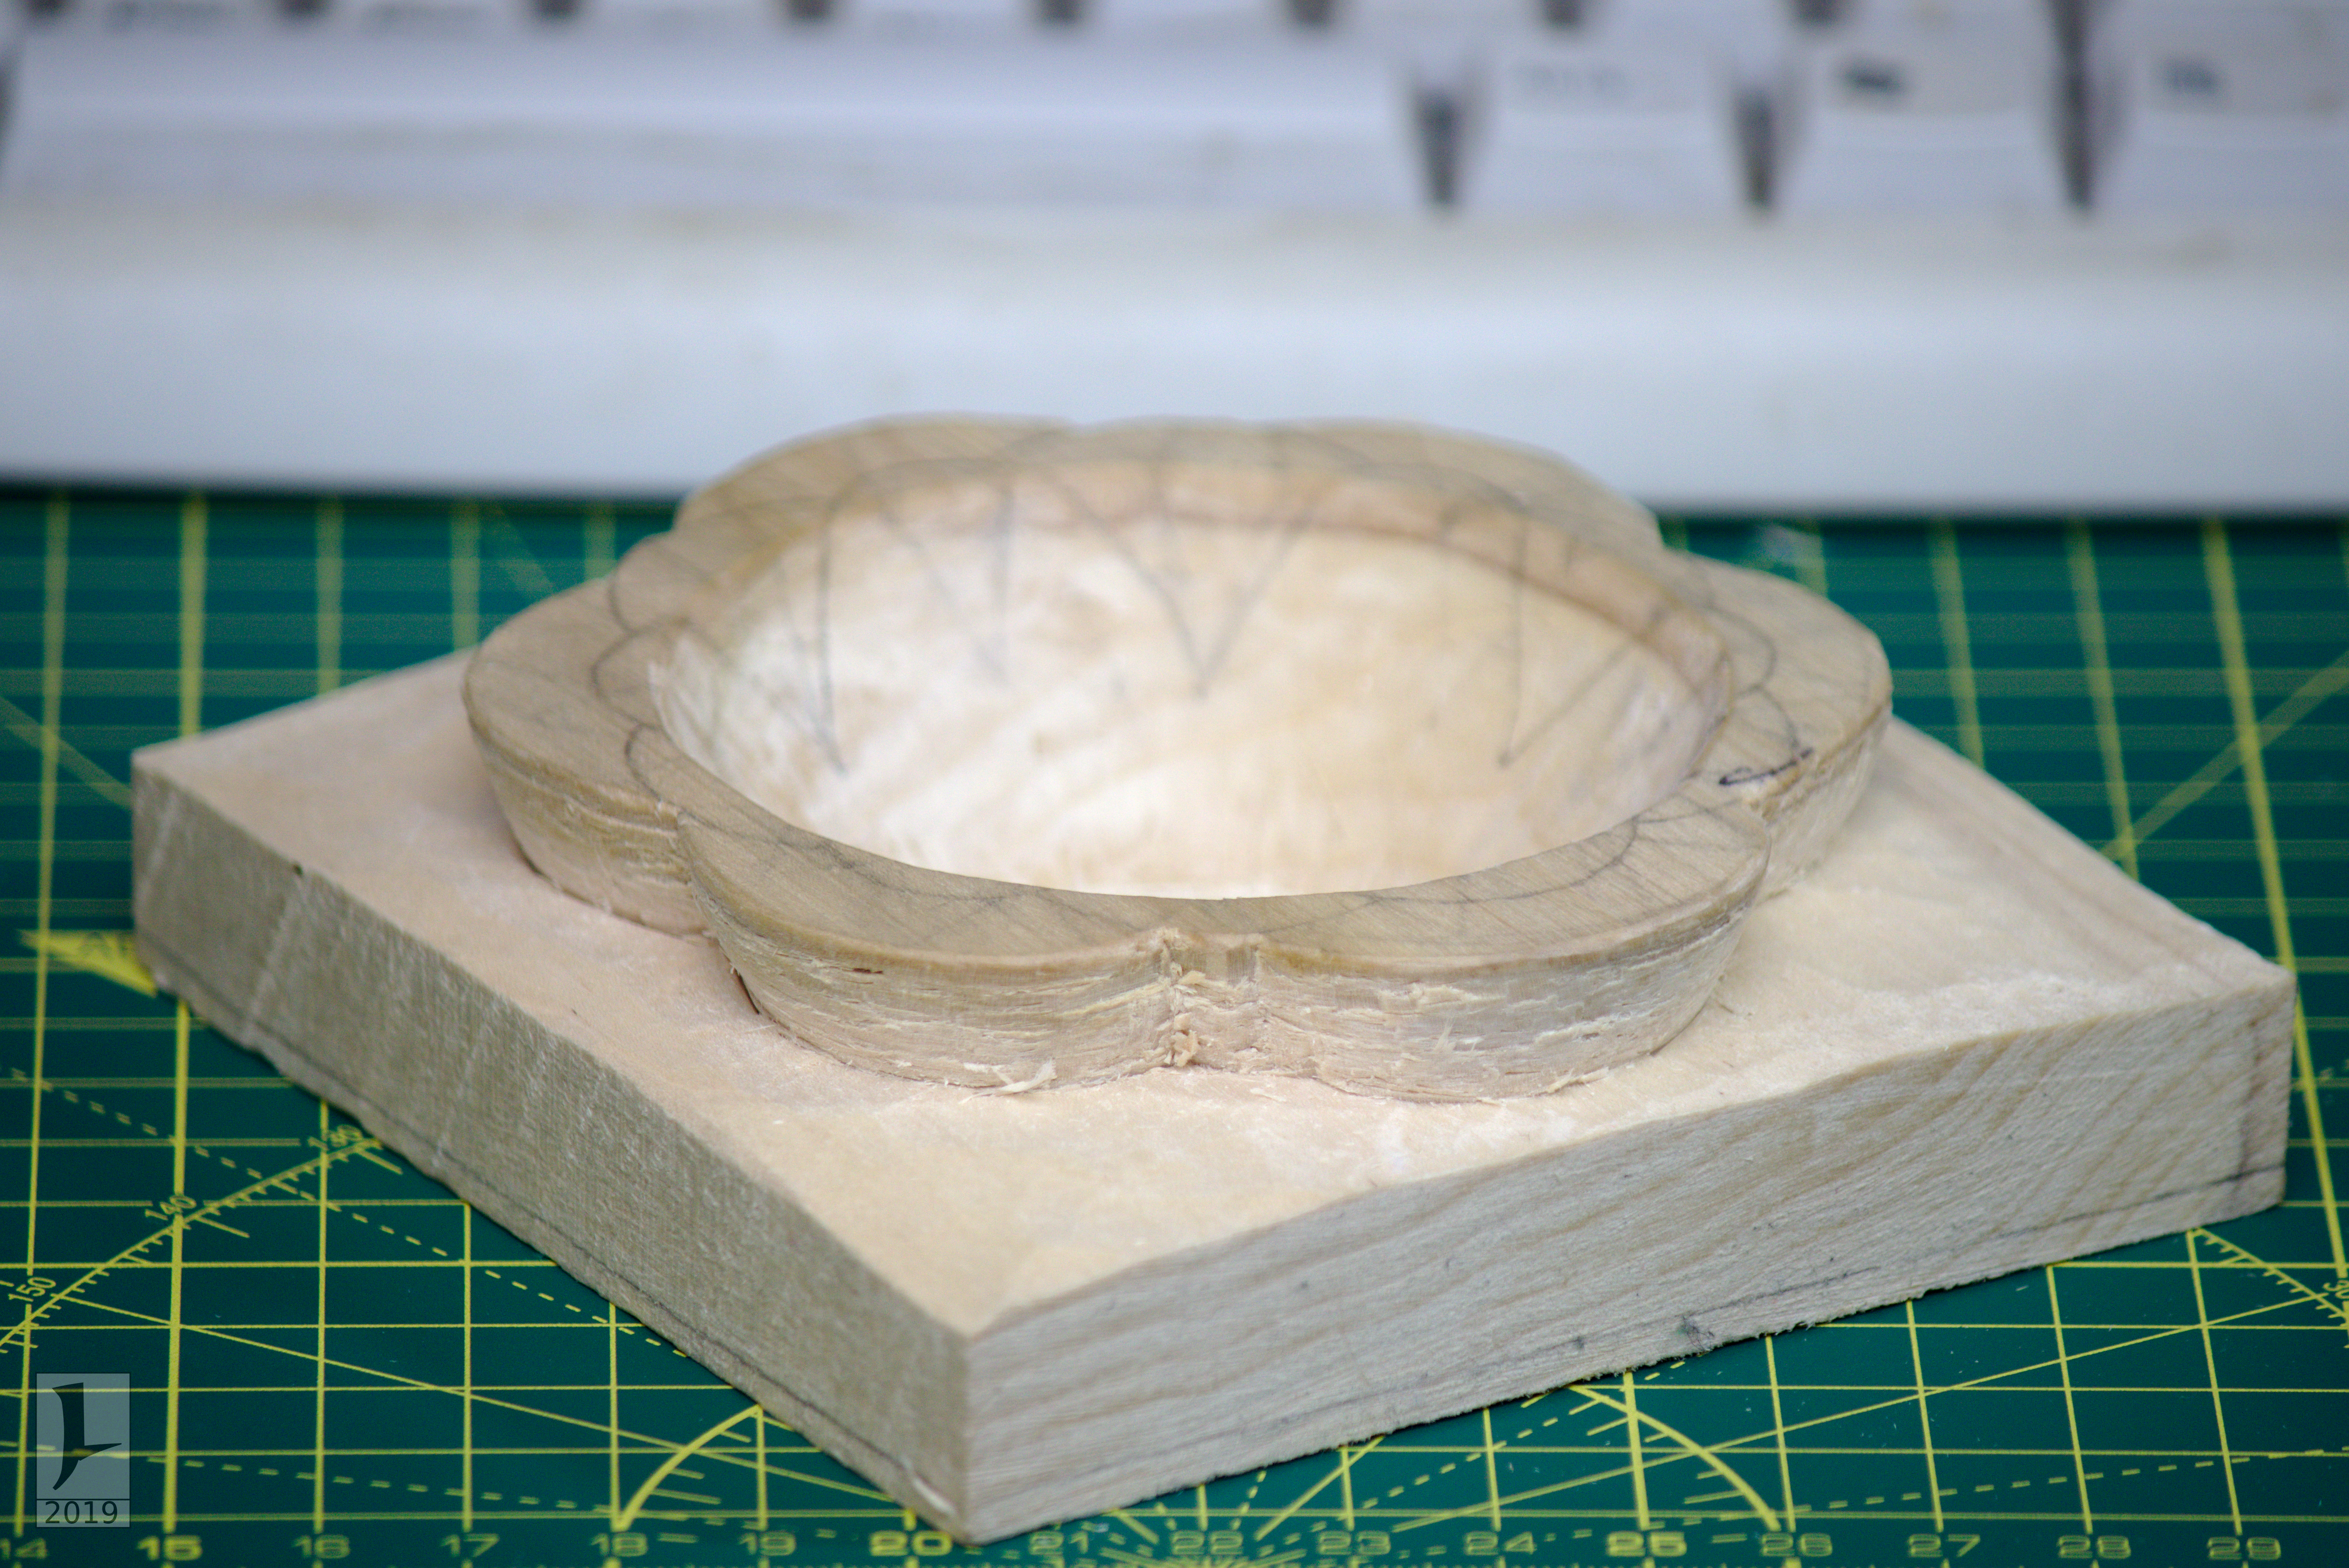
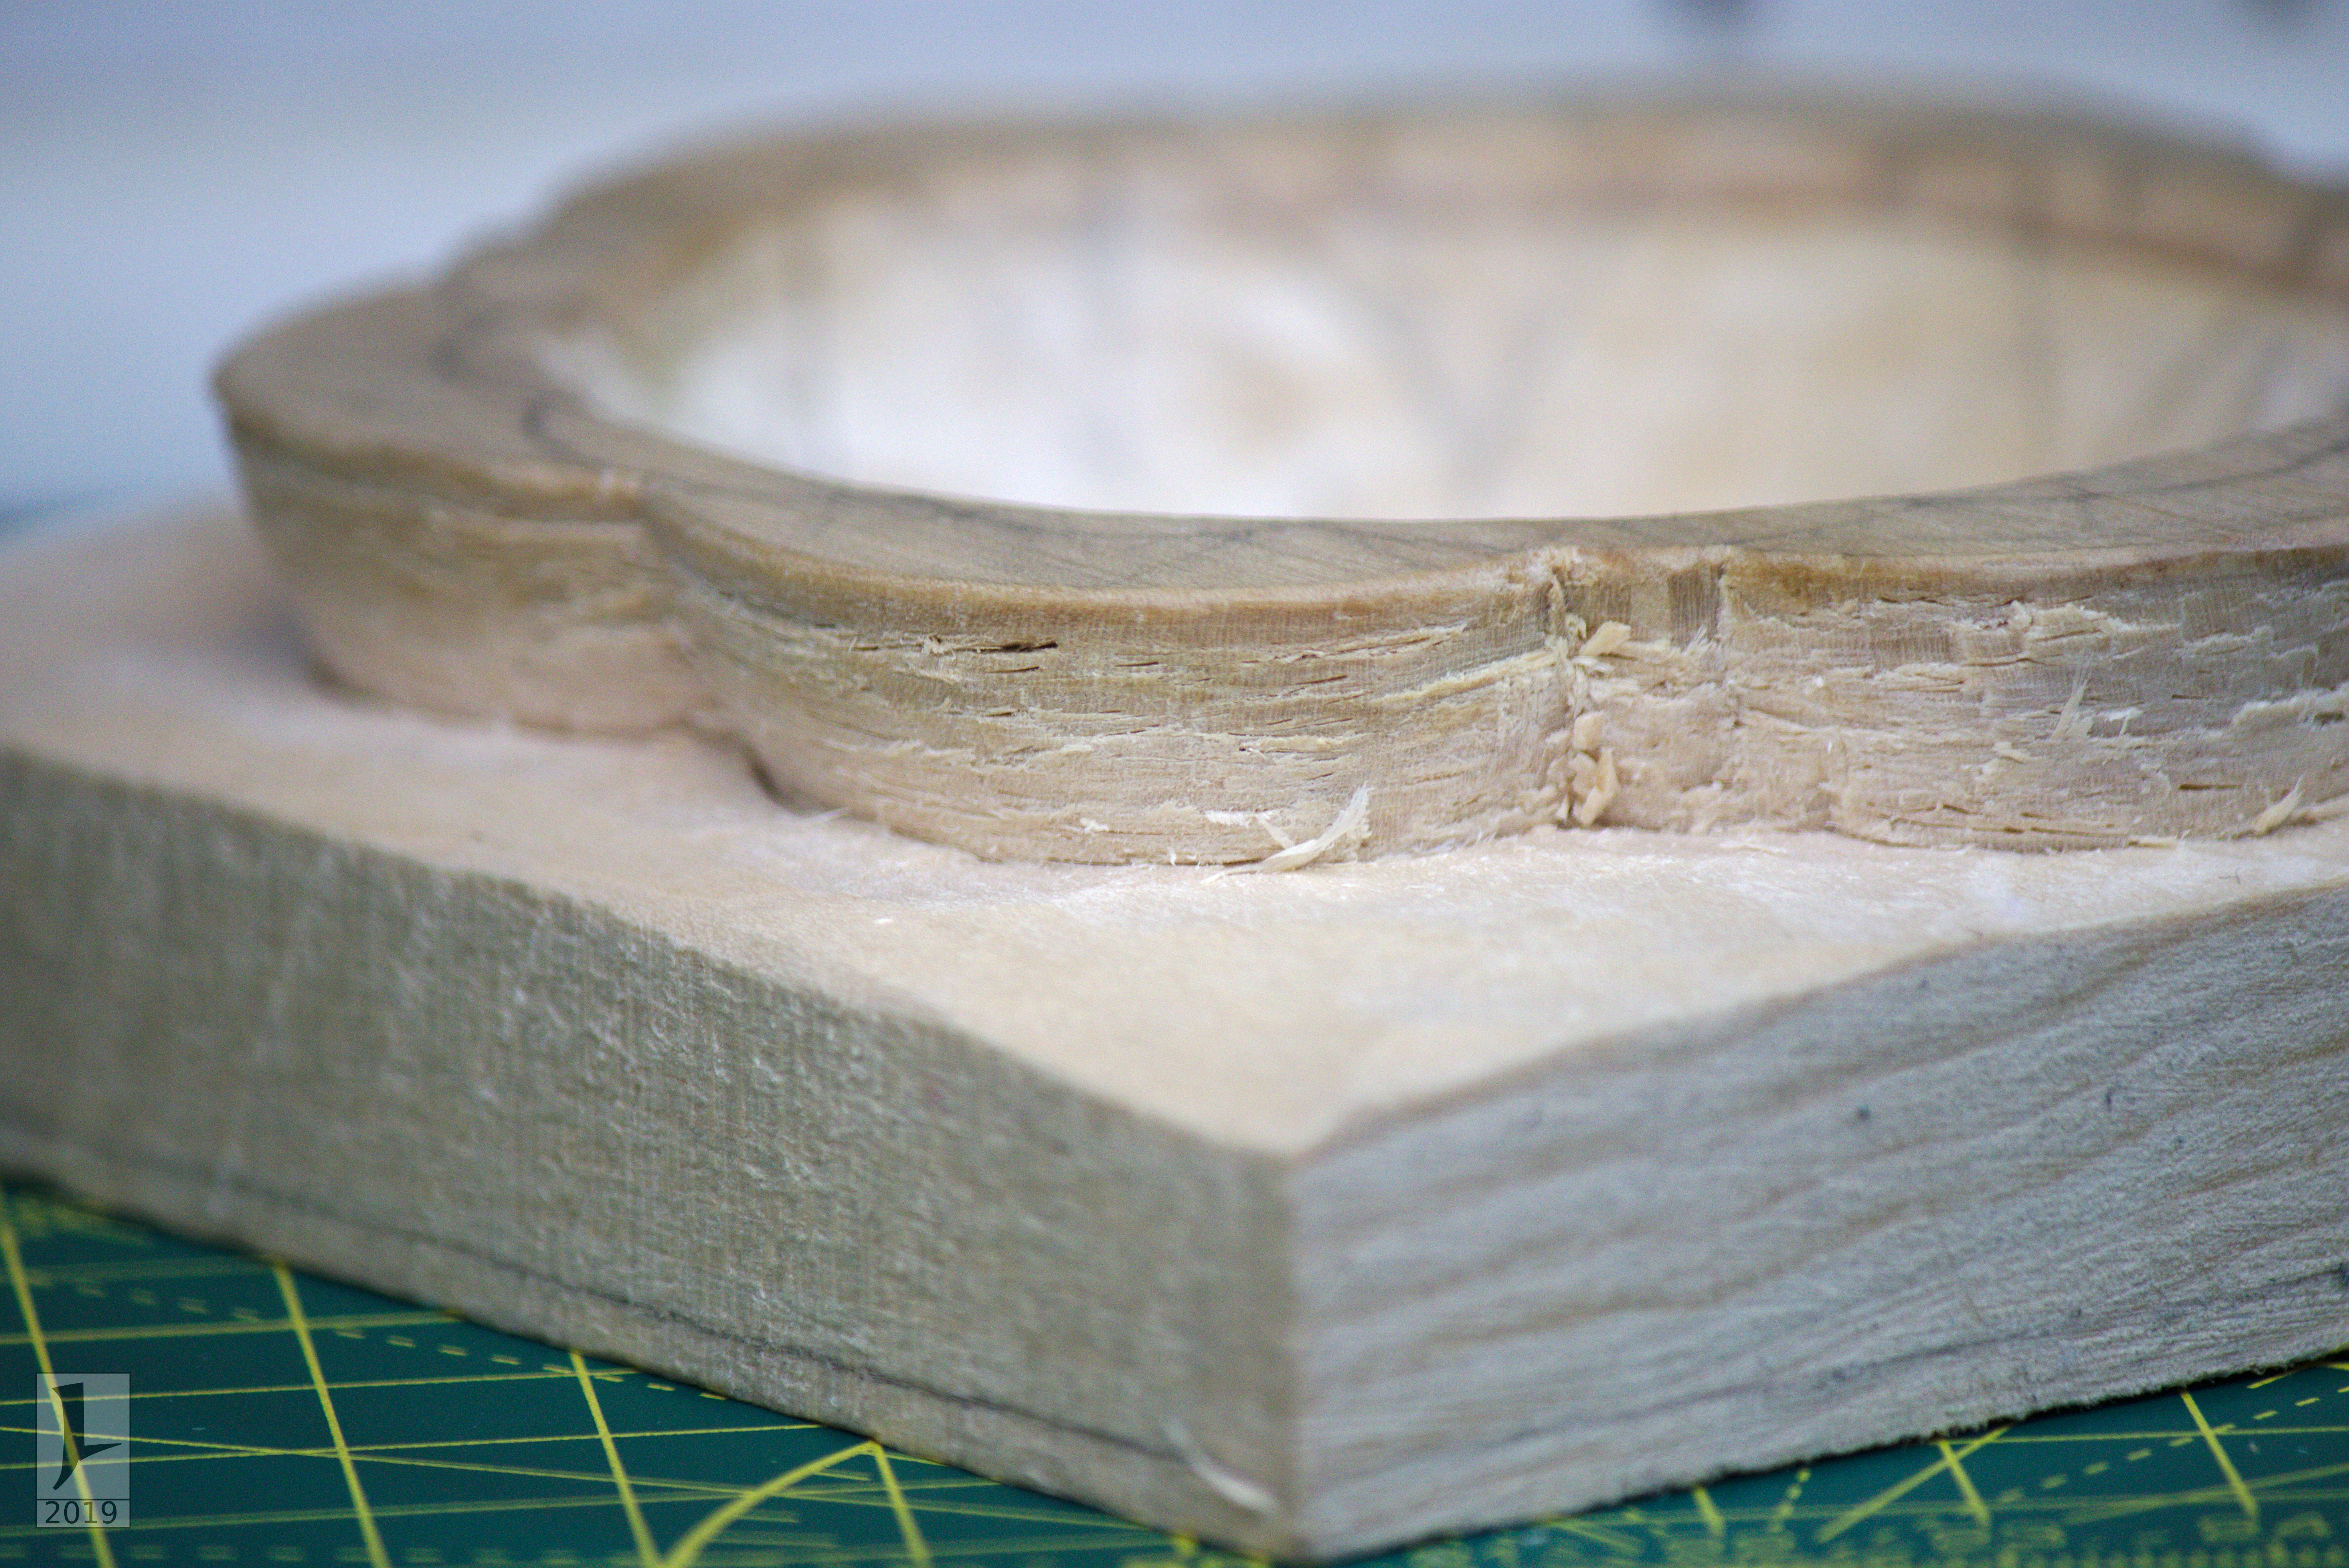

As I mentioned earlier, tulip wood isn’t a soft wood and the process of removing the wood outside of the piece took a long time, I would say roughly 2 weeks carving 2 or 3 hours a night most nights. I certainly am glad that along with my carving set, I was also gifted the appropriate slipstrop to keep the tools sharp along the way. I marked about 4mm at the bottom to keep as the thickness of the bottom leaf and gouged away along the leaves I had drawn.
One thing I did not anticipate was that, as I carved, my stop cuts would follow the contour of the petals down at an angle instead of going more or less straight down. This wasn’t entirely intentional as I expected more gouging out of the bottom of the petals by the time I was done rough carving the outside of the flower. This meant I really only had to flatten out the bottom leaf and smooth out the outside of the petals themselves by the time I reached the bottom. I must confess that while everything was carved with hand tools, the diameter of the bottom leaf was shaped with a disc sander, which came in really handy in this occasion. I do want to do more power carving in the future but for this project I wanted more control over my tools. This was really the only exception to that rule. I also ended up sawing off the corners of the square block after spending time trying to just carve it out. It allowed me to gain time with the rough carving as well as giving me some pieces I could test my stains on to check what it would look like on the finished item. It also allowed me to deal with sections of the wood which seemed much denser than others in a more efficient way.
Once the rough carving was done the rest of the shaping went relatively quickly. I started with finalising the shape of the bottom leaf to give it that slot you often see on water lilies’ leaves and then proceeded to shape each individual petal, starting from defining the space between each of the innermost petals, which would end up being the central layer, then defining a curved shape for those inner petals and then moving on to the outside layer and working my way inwards. Here is what this looked like at this stage:


Carving out the inside of these outer petals was no easy task as it meant removing thin slices of wood without damaging the inner layers of petals, something I almost managed without damage (but not quite, though this wasn’t really a disaster). The end result for those outer petals was rather chunky looking petals but I felt this was acceptable given than anything thinner would just end up being too fragile. After that it was a case of drawing the rough shape of a petal with the pencil and carving out its shape, progressively refining it to a suitable form. Once all the petals were rounded I just sanded the whole thing first with 150 grid sandpaper and then to 320 for a smoother finish. I carved out the suggestion of the filaments with a thin gouge and at that point the piece was ready for staining.


I had very little time left by this point and wish I had one maybe two more days to properly finish it. Staining the leaf took 3 coats to get the shade of green I was after. For this I used a green stain from Crimson Guitars I ordered last summer for a custom guitar project I want to tackle in the near future. The stain looks great but in order to get a darker green you need to keep adding on layers of stain, which allows for more control over the kind of colour you want. For the flower itself I knew I wanted it purple, this was a logical choice for the recipient. However I also knew that if I was to order another bottle of stain from Crimson, it might not get there in time (my summer order took about 3 weeks to be processed and shipped for some reason) so I went on eBay and found another source for a purple grape / plum water-based stain that would work perfectly (well almost) and was shipped to me really quickly. I tried my best to mask off areas that I didn’t want one stain to accidentally cover the other but inevitably I ended up with some spillage but nothing that is immediately obvious. What I did notice though is just how much the stain, in particular the purple one, ended up raising the grain of the wood, hence why I would have liked to have more time so I could sand it back down and asses whether I would need another coat of stain. Oddly enough, the purple stain also seemed to have outlined some of the differences in density of the wood itself. This can be seen by a marked difference in shade that follows the grain. I don’t think there’s much I could have done about that and so I decided to leave it as is. After all, no flower has any uniformity in their colouring anyway and I wanted to ascribe the inevitable flaws of the piece (I’m not that experienced after all) to it being a feature of nature being inherently full of little flaws. Whether this works in giving it a more natural look I can’t really say but this allows me to live better with small mistakes.
Finally I finished the piece with some spray lacquer, which the wood drank like a marathon runner. On the plus side it didn’t make the piece as glossy as I thought it would. I quickly put together a box for it with thick cardboard and superglue and some spray paint to give it a more personal touch (albeit a smelly one) and the piece was ready to be given away. I’m happy to report all who saw it (that I know of) were delighted with it. I certainly was and learnt a few valuable lessons along the way too.


I wish I had taken more illustrative photos but when you get in the zone you don’t always think about doing that. It’s been a fun piece to make and I only cut myself 3 times and strained my thumb for a few hours so overall not bad given the effort it took. I’m sure I’ve left some details out so if anyone has any questions, please let me know in the comments.